Our Steps to Grow Māmaki
Share
When I started growing māmaki, I realized quickly that it's a plant that really responds to the right environment — especially when you're starting from seed. I've tested a few methods, and this is the one that’s been working well for me.

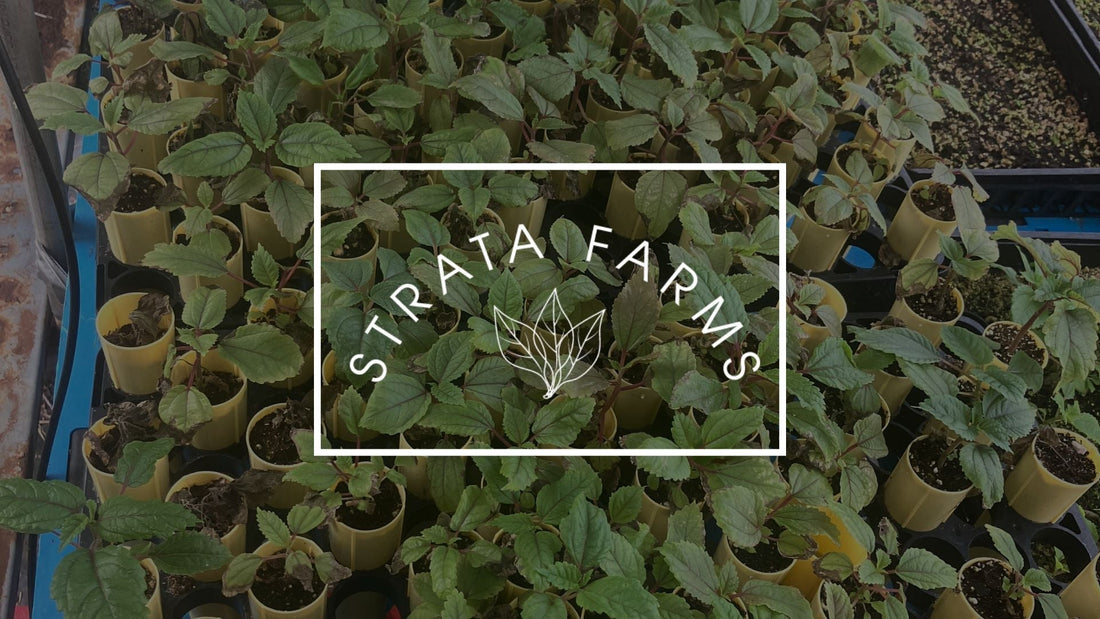
I start all my māmaki as seed in 10x20" trays. The seed is collected at the berry stage (white squishy berry with small black seeds) and then mashed and fermented in a plastic bag for 2 days and spread over moist soil medium. The next step is transferring the 3" seedlings after about a month and a half into tree tubes in the nursery. The deep tubes help the roots grow straight down, and keeping them in the nursery gives me more control over watering and shade while they’re small. Māmaki seeds take a while to germinate, so I usually just seed them and check on them regularly, making sure the mix stays lightly moist and well-aerated.
Once the seedlings are a few inches tall and have solid root systems, I transplant them into the field. I prep the soil ahead of time with a good amount of compost and organic matter — but the key is making sure the planting site drains well. Māmaki doesn’t like sitting in wet, compact soil, especially during heavy rains, so I build up the planting area into low mounds. This slight elevation helps prevent root rot and keeps the base of the plant drier even when the surrounding soil is saturated.

After transplanting, I put up simple shade hoops over each section. I used basic bamboo stakes I harvested on the Pali with a layer of shade cloth, just enough to cut the intensity of the sun (70%). Young māmaki prefers some protection from direct sun, and I've found they establish more reliably under partial shade. The hoops give them a head start while their root systems adjust and strengthen.

Around the māmaki, I plant papaya, Mexican sunflower, and pigeon pea. These support plants do a few things for the system:
-
Papaya grows fast and adds vertical shade while giving me a fruit harvest.
-
Mexican sunflower grows tall and bushy, great for filtered shade early on and later as green chop-and-drop mulch.
-
Pigeon pea helps with wind protection, fixes nitrogen in the soil, and creates a good layered effect as things fill in.
Together, they create a kind of mixed canopy — not too dense, but enough to buffer wind, heat, and intense sun. Over time, the māmaki grows up into that system and can handle more exposure, but early on, the shade makes a noticeable difference.
That’s the basic process I’ve been following, and it’s starting to show results. The māmaki looks healthy, the leaf color is deep, and I’m seeing less stress compared to I when I tried planting without that structure.
I hope the photos help picture this process that I used to get my current top producing plants — from nursery trays to the shade hoops and co-planting layout in the field.


